Whole house customization is not just about furniture—it is a systematic process that integrates design, manufacturing, logistics, and on-site installation into one complete solution.
Whether for a private residence, villa, or large-scale project, understanding the whole house customization process helps homeowners, designers, and developers avoid delays, control costs, and achieve a high-quality final result.
Below is a clear, step-by-step guide covering the full journey—from initial design to final installation.
Step 1: Needs Analysis & Project Planning
Every successful whole house customization project starts with a clear understanding of requirements.
This stage includes:
- Lifestyle and usage analysis
- Space function planning (kitchen, wardrobes, storage, living areas)
- Style direction (modern, minimalist, luxury, etc.)
- Budget range and timeline expectations
- Project type (apartment, villa, residential, commercial)
This step ensures that the design and product choices are aligned with real usage needs, not just appearance.
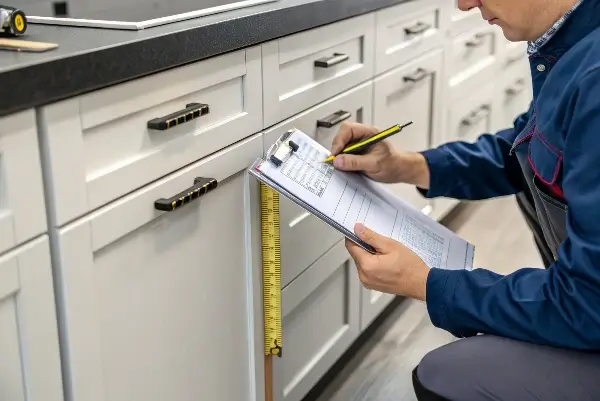
Step 2: Space Measurement & Layout Confirmation
Accurate measurements are the foundation of customization.
What happens:
- On-site measurement or architectural drawing review
- Structural constraints confirmation
- Ceiling height, wall alignment, and column positions
- Plumbing, electrical, and appliance locations
Precise measurements reduce production errors and installation issues later.
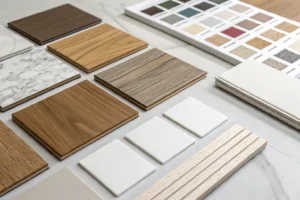
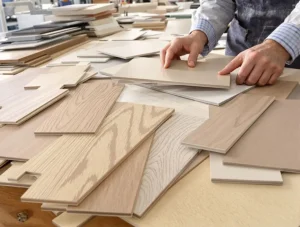
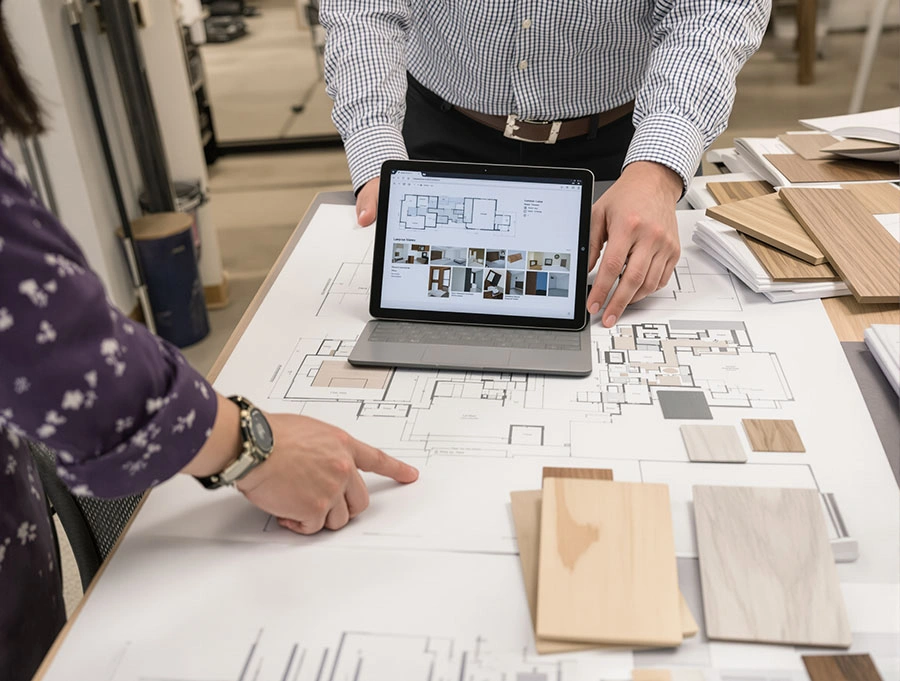
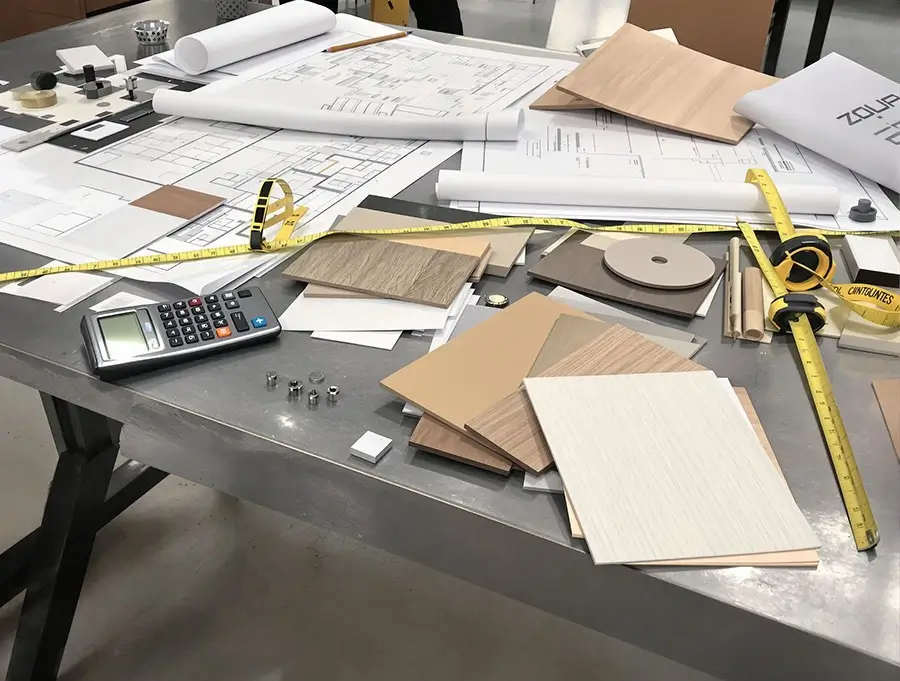
Step 3: Design Development & Material Selection

This is where the project starts to take shape visually.
Design scope includes:
- Overall interior style and color palette
- Cabinet layout for kitchens and wardrobes
- Storage system planning
- Door styles, finishes, and hardware selection
- Material choices (wood, laminate, stainless steel, stone integration)
Design drawings and 3D visuals are usually provided for confirmation.
All details should be finalized before production to avoid costly changes.
Step 4: Design Approval & Technical Drawings
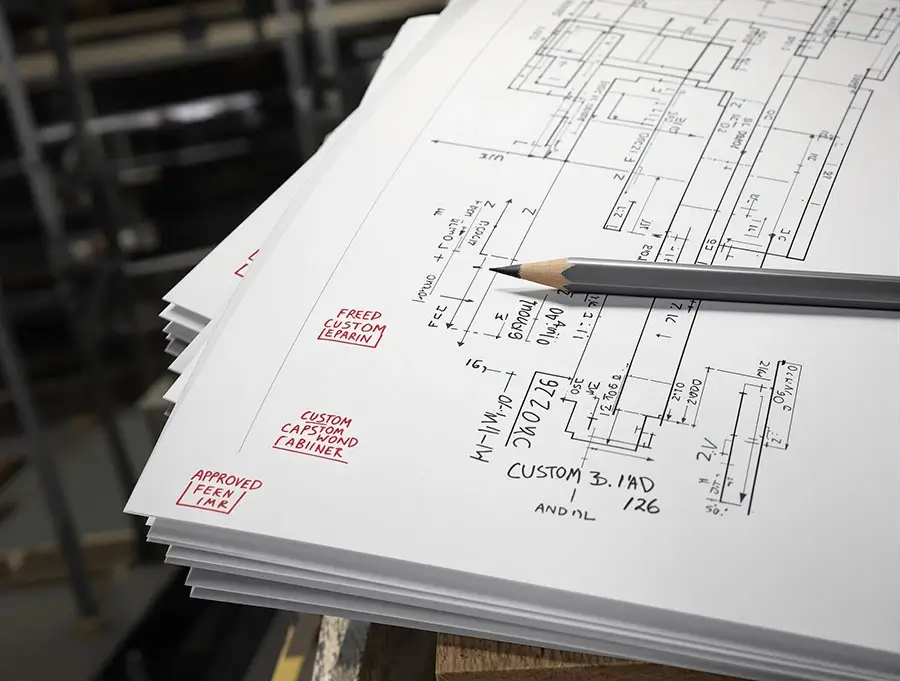
Before manufacturing begins, all designs must be approved.
This step includes:
- Final design confirmation
- Technical drawings and specifications
- Hardware and accessory lists
- Production-ready documentation
Once approved, changes should be minimized to protect the project timeline and cost.
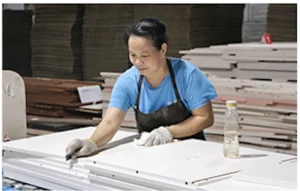
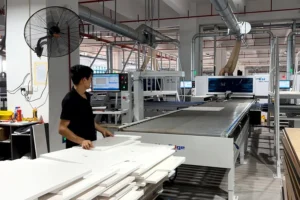
Step 5: Manufacturing & Quality Control
With approved drawings, production starts.
Manufacturing process typically includes:
- Panel cutting and processing
- Edge banding or surface treatment
- Cabinet carcass and door fabrication
- Hardware pre-installation
- Quality inspection at each stage
Production time usually ranges from 4 to 8 weeks, depending on complexity and materials.
Strict quality control helps ensure consistency and reduces on-site adjustments.
Step 6: Packaging, Logistics & Delivery
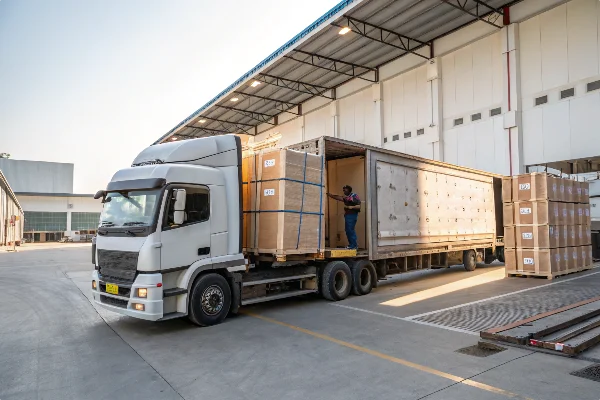
After production, products are prepared for delivery.
Logistics preparation includes:
- Protective packaging for panels and hardware
- Clear labeling for installation sequence
- Export packing for overseas projects
- Delivery scheduling based on site readiness
Efficient logistics planning ensures smooth installation without material damage or confusion.
Step 7: On-Site Installation & Fit-Out

Installation is the final and most visible stage.
Installation process includes:
- Cabinet carcass installation
- Door, drawer, and hardware fitting
- Alignment and adjustment
- Integrated appliance coordination
- Final inspection and touch-ups
Installation duration depends on project size:
- Apartments: 1–2 weeks
- Villas or large projects: 2–4 weeks
A well-prepared site significantly improves installation efficiency.
Step 8: Final Inspection & Project Handover
Before completion, a final inspection is carried out.
This step covers:
- Functional testing of doors and drawers
- Surface finish inspection
- Alignment and gap checks
- Client acceptance confirmation
Once approved, the project is officially handed over.
Common Issues That Affect the Process
Common challenges include:
- Late design changes after production starts
- Incomplete site preparation
- Poor coordination between contractors and suppliers
- Material lead-time delays
Choosing an experienced one-stop whole house customization supplier helps reduce these risks.
Why the Process Matters
A structured whole house customization process ensures:
- Better design accuracy
- Stable product quality
- Predictable timelines
- Reduced installation issues
- Higher long-term satisfaction
Instead of treating furniture as separate items, this approach delivers a cohesive, integrated interior solution.
Final Thoughts
The whole house customization process—from design to installation—is a collaborative journey that balances aesthetics, functionality, and execution.
By understanding each stage and working with the right partner, homeowners and project buyers can achieve a smooth experience and a result that truly reflects their vision.